. Enjoy!
Having a baby changes the way you look at things. For me, this meant I wanted to make my own baby food.
Kale is one of those foods that I had never cooked before Little Sweets came along. I didn't know how to buy it or what to do with it. But with the help of the
Super Baby Food book by Ruth Yaron (see my post with a fruity
recipe from the book here), I learned about the health benefits of kale and what to do with it.
{
A disclaimer if you're a first-time visitor to my blog: I have never dedicated a whole post to a leafy green vegetable before. Also, I apologize in advance for the pictures that I take in my kitchen. I have one tiny window and not enough natural light to work with.}
So why kale? It is one of the healthiest vegetables you or your baby can eat. Check out the Vitamins section of
this chart. Each cup of kale provides you with tons of Vitamin K, Vitamin C and Vitamin A. (Here's
another resource with charts that might sell you on kale.)
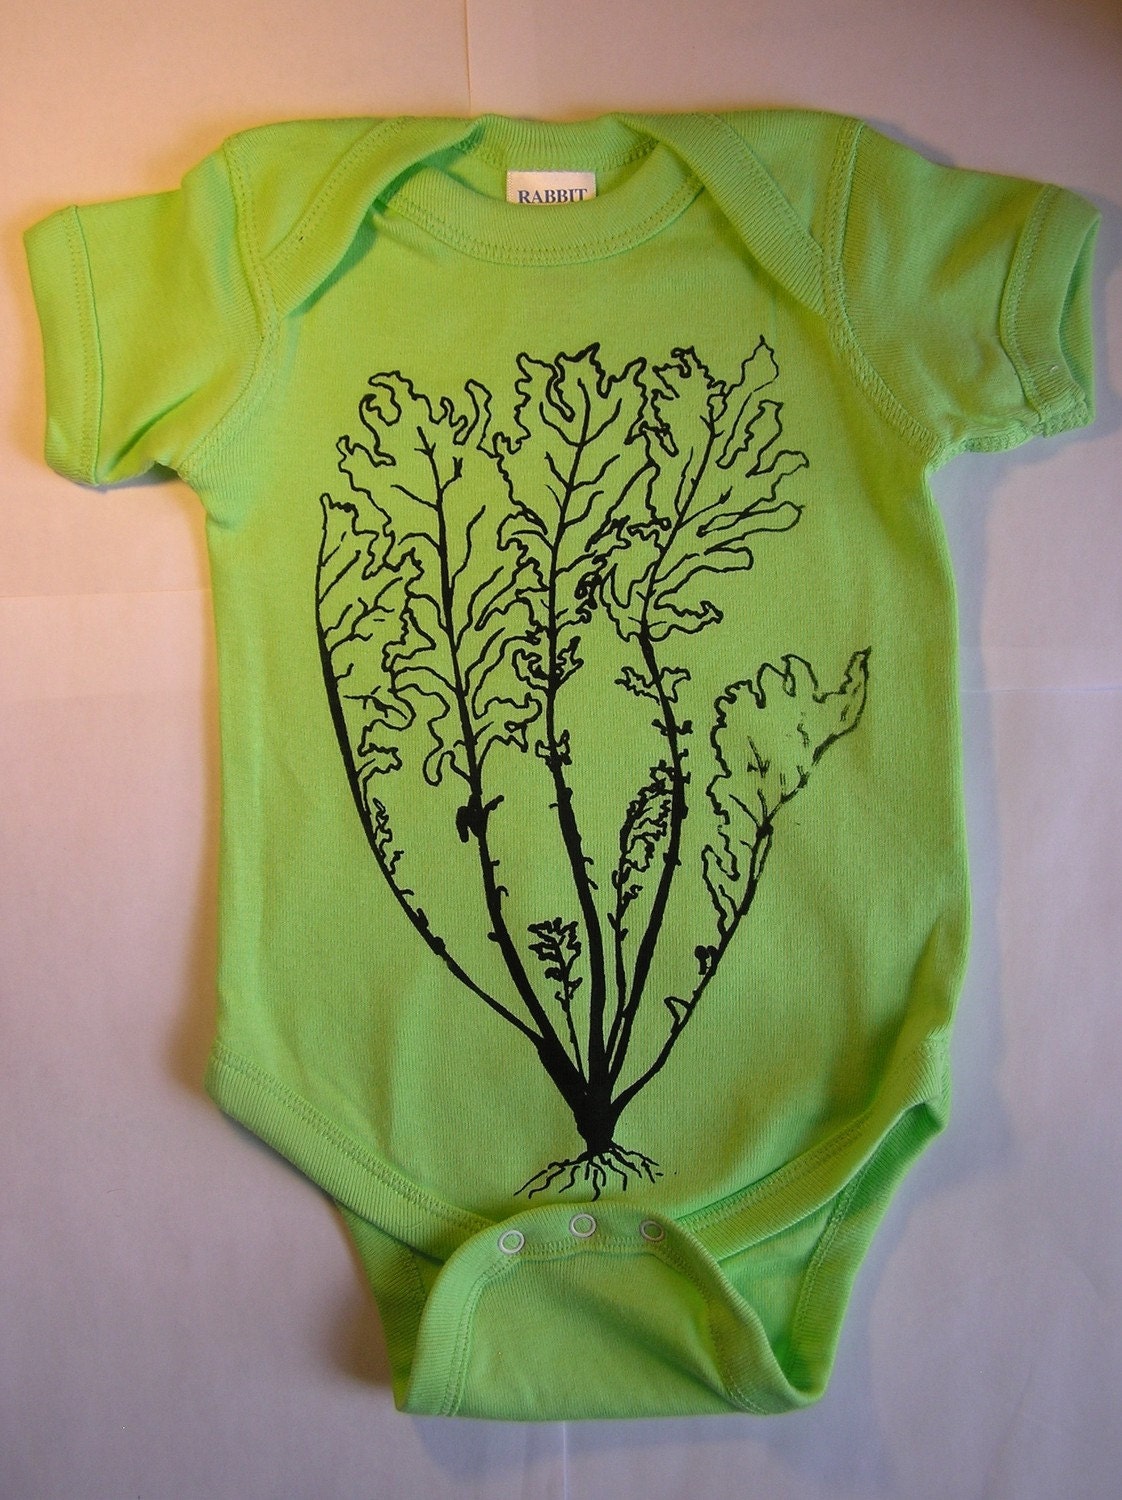 |
| Kale Onesie by swordfishscreenprint |
You can steam, puree and freeze kale into ice cube trays and then sneak those frozen cubes into oatmeal, soups, pasta sauces or whatever else you can get away with.
**Babies need to be at least 9 months old before you feed them kale.**
What you need to cook, puree and freeze kale:
kale
food processor (please use a bigger one than this if you're doing a large batch)
pot with steamer basket/insert
ice cube trays
heavy-duty freezer zip-top bags
I bought a 2-pound bag of kale. The bagged kale is prewashed, trimmed and cut already, which saves a lot of time. If you buy loose kale instead (which is recommended in Super Baby Food), swish the leaves around in a sink full of water several times to make sure all the sand has been freed. Then trim it by pulling the leaves off the stems (throw stems away). Then chop it into small pieces. Or you could buy the bagged prewashed, pretrimmed, precut kale.
It took me 1 hour to do this entire process (would've been faster with a bigger food processor). I got 28 ice cubes from this 2-pound bag of kale, which was 28 cups of kale. So when I cook with it, I know that 1 ice cube = 1 cup of raw kale.
Put an inch or so of water into your pot and bring to a boil. Then fill the basket up with kale and cover; cook for 3-5 minutes. I fit about 1/2 pound of the kale at a time in my steamer basket.
Here's what it looked like when it was done cooking. The kale will reduce in size by about half when cooked:
Put some of your cooked kale into your food processor and squeeze out some excess water by pressing down on it with a few paper towels. Then process until the kale is pureed into what looks like tiny flakes. You want the flakes to be pretty small so they're less noticeable when you mix the kale into your food:
Using my tiny 3-cup food processor, I had to do 7 rounds of pureeing for this 2-pound bag of kale. Immediately after I finished cooking the kale for this tutorial, I bought a new 12-cup food processor. It will be much easier/faster next time!
Now squeeze your kale flakes into the ice cube trays. Pack it in tightly so it will stick together when you pop the ice cubes out. I soaked up a bit more water by pushing down on each cube with another paper towel.
Repeat the cook/puree/squeeze process with the rest of the kale. Like I said, I ended up with 28 ice cube-sized portions of kale. The 2-pound bag held 28 cups of kale, so 1 ice cube = 1 cup of raw kale. Somehow it ended up perfectly proportioned, but this is not a science so you may end up with more or less than I did.
Put your trays into a freezer-safe zip-top bag and freeze for a day or so. Then pop the "kale cubes" out and put them back into the freezer bag.
Frozen kale cubes will last in your freezer for awhile. Super Baby Food says they'll keep 2 months but
this website says they'll last 10-12 months. Would you think I'm a bad mom if I told you I've been feeding Little Sweets frozen kale from 11 months ago? She hasn't gotten sick, but maybe some of the health benefits have deteriorated a bit.
Stay tuned to see my recipe for Little Sweets' Favorite Oatmeal with Kale... but don't tell her what those green flecks are.