Showing posts with label eco friendly. Show all posts

Wednesday, April 20, 2011

Feature Shop: Off the Hook by Jen

Today, meet Jen of Off the Hook by Jen. Her pot scrubbers and Swiffer covers will have you cleaning in style! Cheers! -Cori of Peace, Baby! Batiks.

What is your name?
Jen

Where are you located?
Bolingbrook, IL

Set of 3 Pot Scrubbers
Tell us a little about yourself.
I have been married for 11 years, and have two children, Madison (6) and Colin (3). I am a Certified Occupational Therapy Assistant and work very part time (a few days a month) at two local hospitals

What type of merchandise will shoppers find in your shop?
Currently I have coffee cup sleeves, pot scrubbers, and Swiffer covers. I am also planning on adding wash cloths, and I'm working on items for children as well.

Crochet Swiffer Cover with Scrubbing Stripes

How/why did you get started?
I have been making the pot scrubbers for several years and giving them away as gifts. I had been thinking about opening an Etsy shop for several months before I actually worked up enough courage to do it.

How long have you been crocheting? How did you get started?
I learned to crochet when I was in 3rd grade from my babysitter. I knew how to make chains and circles. I tried to sell them at my mom's yard sales. I don't think I sold a thing, and I stopped trying. :) Fast forward 15 years to my wedding shower, where my mom gave me a large bag of pot scrubbers. I LOVED them! When I got down to my last two, I asked my mom if she could get me more. Unfortunately, the woman who made them had passed away. So I took matters into my own hands, and armed with those two scrubbers and You Tube, I relearned how to crochet, and came up with my own variation of the pot scrubbers, and have been making them ever since.

Pink Cotton Coffee Cup Sleeve

What is your favorite thing to make?
Whatever I am working on at the moment.

What is one thing you need to have with you while you craft?
COFFEE!

How do you balance mothering and running a small business?
I tend to do most of my crocheting at night after the kids are in bed, while my husband and I are watching TV. I also crochet in the car, not while I'm driving of course. I try to keep a ball of yarn in the car, so I can pull it out while I'm waiting for my daughter to get out of school or waiting at the doctor's office. One of my biggest problems is that whenever I try something new, or get a new color, my daughter wants to have one just like it, so she's stashing away her own little inventory!

Crochet Swiffer Cover

What is your favorite thing to browse Etsy for?
Everything! I love seeing all the creativity and talent out there!

When you're not crafting, what are you doing?
Playing with the kids, watching TV, cooking/baking, reading. I'm pretty boring.

Where can we find you?
www.etsy.com/shop/OffTheHookbyJen
www.facebook.com/OffTheHookbyJen

Crochet Coffee Cup Sleeve

Monday, February 28, 2011

Snack and Sandwich Bags Tutorial

In the interest of reducing our Ziploc bag consumption around here, especially with a kindergartener who takes a snack to school every day, reusable (read: washable) snack bags are fantastic ways to help the environment.  They're super-easy to make, and they can be popped into the top rack of the dishwasher (or the washing machine) and air dried. 

The materials you'll need:

template (either Ziploc bags or cardboard)
cotton material
ripstop nylon (I buy mine at JoAnns off the bolt)
Velcro strips
thread

A few notes before we begin.  PUL (or shower curtain liner) is not food safe.  Ripstop nylon, generally speaking, is food safe, but to be extra careful, you can flip the nylon to the shiny side facing your fabric, so it's not facing your food. 

My cardboard templates measure as follows:

Snack bags: 5 inches tall by 7 inches long
Sandwich bags: 7.25 inches tall by 8 inches long

My finished bags measure as follows:

Snack bags: 4.25 inches tall by 6 inches long
Sandwich bags:  6.5 inches tall by 6.5 inches long

(Obviously, these measurements can be adjusted for your personal use.  These sizes happen to work well for our family's needs.)

First, cut your fabric and waterproof lining double the length of the template . . .


This is so you don't have to sew any more than necessary . . .

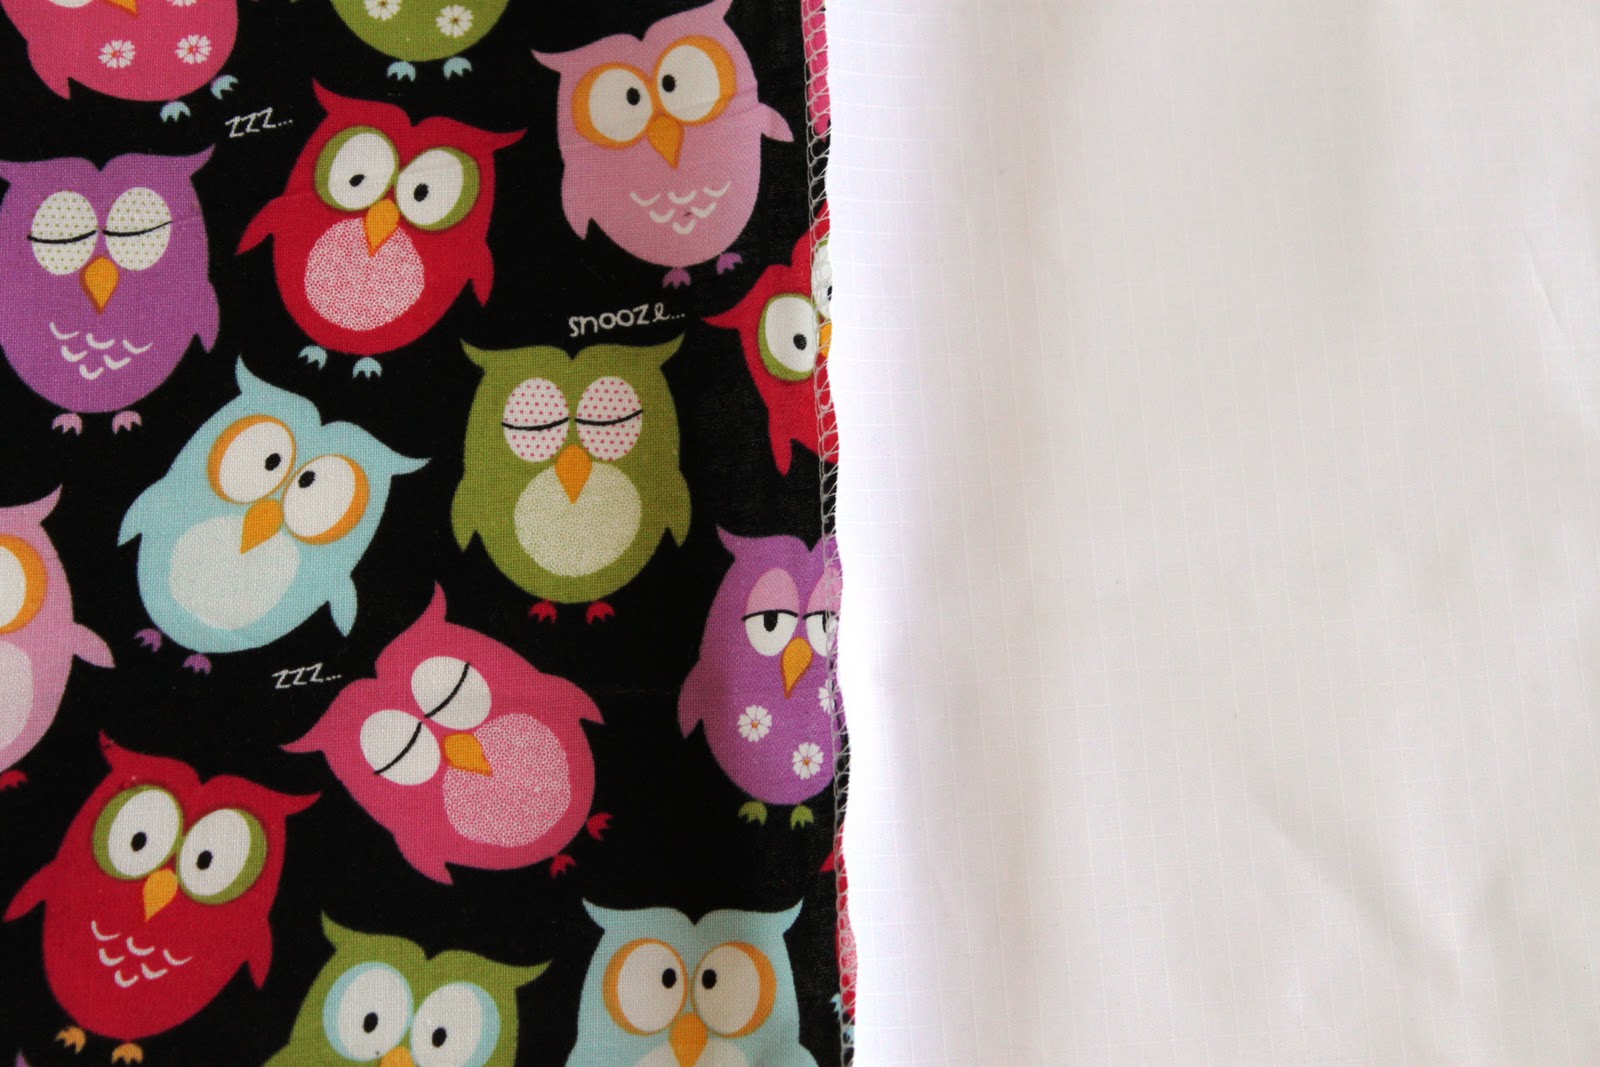
Once you've cut out the materials, serge (or sew with a regular or zig zag stitch) the fabric and the nylon together on all 4 edges . . .


These are serged together, but again, a regular stitch would work fine . . .

Then, press 1/4 inch of the two edges with an iron . . .


Then hem . . .

Measure out and cut two lengths of the Velcro, and place one side along the edge of your fabric . . .


Before sewing, make sure each side of the Velcro matches up perfectly . . .


Then sew around the edges of each strip of Velcro . . .


Then, once the Velcro has been attached to each side, bring the rectangle of fabric together, right sides together, and sew along each edge, with a 1/4 inch seam  . . .

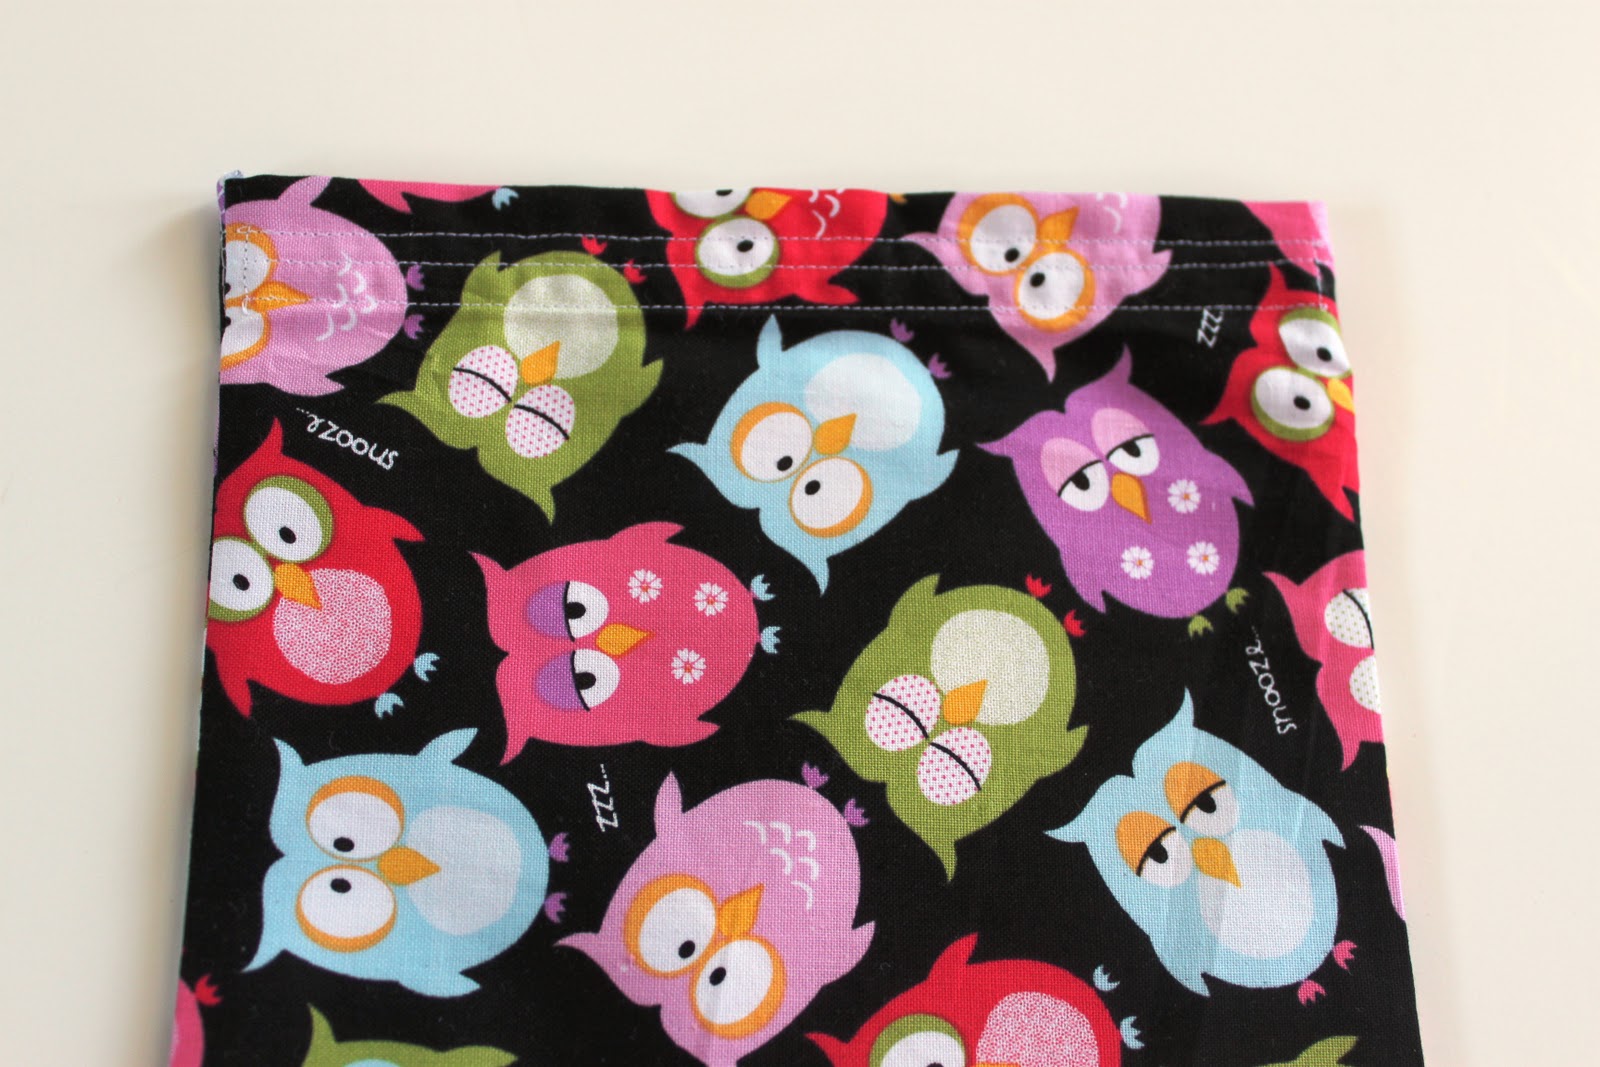
Then, turn right side out, and press with an iron . . .


 You're done!  These are very quick (mine took about 30 minutes for 3, start to finish), and they are super-sturdy.  Plus, the possibilities are endless with all of the adorable fabrics out there.  Enjoy!

Lora- Butternut Boutique

Friday, February 25, 2011

Craft Tutorial: Home Made Recycled Crayons


I've been wanting to try out the homemade crayon ideas that I've been seeing around, and I thought this would be a great thing to do...that ALL of my kids could help out with! I have a nine-year-old, seven-year-old, four-year-old, and two-year-old, and they ALL love to color and make stuff! My kids are huge recycling/reusing fans, so a lot of our projects are repurposing things...this was a perfect fit for them! (Pay no attention to their uncombed hair and mismatched clothing, please...)


We started out by gathering all of our odd crayons from around the house - most of them were in an empty diaper wipe container that I keep them in. Then we all helped peel the wrappers off and break them into small pieces. We sorted the colors (sort of) by color families into small plastic containers.


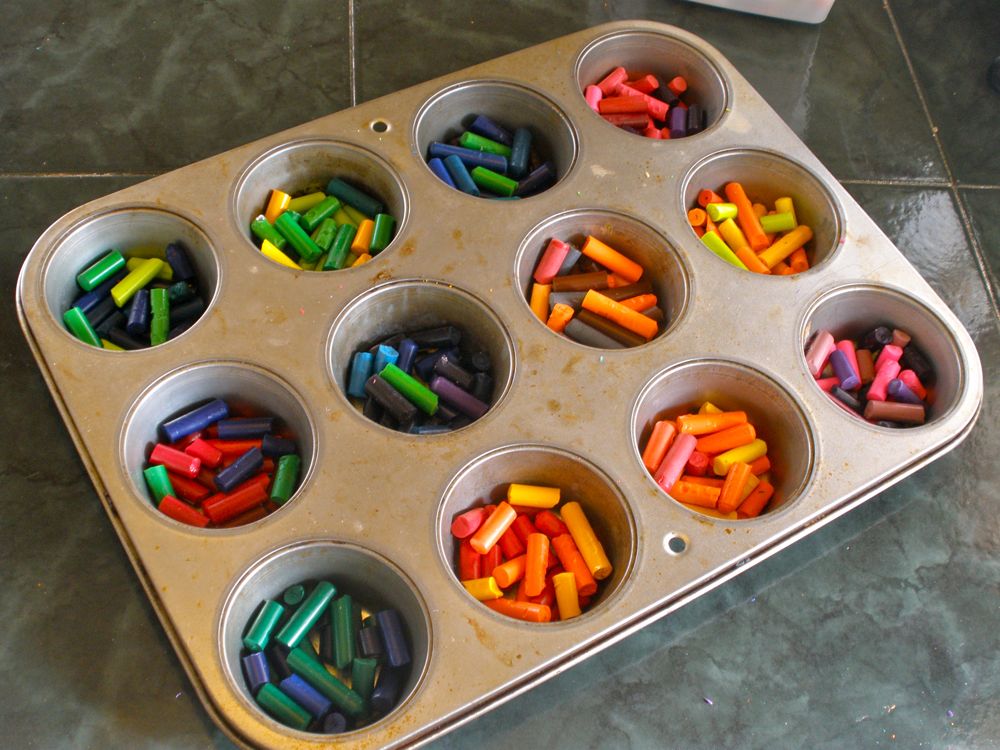
Then distributed them among the muffin cups. I'd seen this done with both silicone and metal muffin molds, so I gave it a try in my good old-fashioned aluminum pan! (Some sites recommend that you spray it with non-stick spray first, but I didn't want to deal with making sure it was wiped off before they could color.)


Aren't they so pretty?

I put the tin in a 250 degree oven and baked it for about 10 minutes. After that I let it cool a bit on the stove-top. (Sorry - I forgot to take an in between shot!) When the tin had cooled a bit and the wax was mostly solid we put it into the freezer.

After about 10 more minutes we took them out of the freezer and popped them out of the tin, onto the counter. (Putting the muffin tin in the freezer helps the wax shrink away from the sides of the muffin tin, and makes it easy to pop them out, without much clean-up afterward!)

And here are the finished beauties!


Some things we discovered: the cheaper crayons (ie the ones not made by RoseArt or Crayola) didn't color very well after the melting process, but they also didn't color well before, either. They also separated from the better quality crayons during the melting process, and floated to the top of the mold.

Happy coloring!!!


-Sarah @ Sarahndipities