

I've been wanting to try out the homemade crayon ideas that I've been seeing around, and I thought this would be a great thing to do...that ALL of my kids could help out with! I have a nine-year-old, seven-year-old, four-year-old, and two-year-old, and they ALL love to color and make stuff! My kids are huge recycling/reusing fans, so a lot of our projects are repurposing things...this was a perfect fit for them! (Pay no attention to their uncombed hair and mismatched clothing, please...)

We started out by gathering all of our odd crayons from around the house - most of them were in an empty diaper wipe container that I keep them in. Then we all helped peel the wrappers off and break them into small pieces. We sorted the colors (sort of) by color families into small plastic containers.

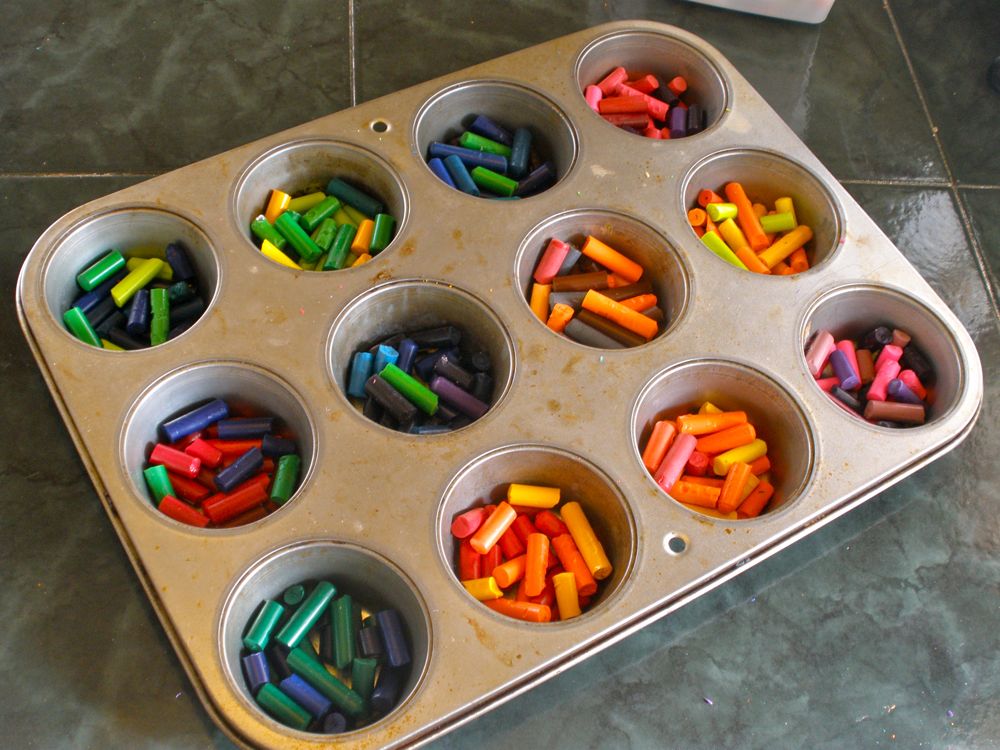
Then distributed them among the muffin cups. I'd seen this done with both silicone and metal muffin molds, so I gave it a try in my good old-fashioned aluminum pan! (Some sites recommend that you spray it with non-stick spray first, but I didn't want to deal with making sure it was wiped off before they could color.)

Aren't they so pretty?
I put the tin in a 250 degree oven and baked it for about 10 minutes. After that I let it cool a bit on the stove-top. (Sorry - I forgot to take an in between shot!) When the tin had cooled a bit and the wax was mostly solid we put it into the freezer.
After about 10 more minutes we took them out of the freezer and popped them out of the tin, onto the counter. (Putting the muffin tin in the freezer helps the wax shrink away from the sides of the muffin tin, and makes it easy to pop them out, without much clean-up afterward!)
And here are the finished beauties!


Some things we discovered: the cheaper crayons (ie the ones not made by RoseArt or Crayola) didn't color very well after the melting process, but they also didn't color well before, either. They also separated from the better quality crayons during the melting process, and floated to the top of the mold.
Happy coloring!!!
This was originally posted on Sarahndipities.blogspot.com on January17, 2011. (http://sarahndipities.
-Sarah @ Sarahndipities
Thanks for using my tutorial this week!! How fun!
ReplyDeleteOh, my kids would LOVE this project :)
ReplyDeleteMy girls and I love doing this. We buy the silicone molds in holiday shapes and make them to celebrate each holiday.
ReplyDeleteGreat tutorial!