
The materials you'll need:
template (either Ziploc bags or cardboard)
cotton material
ripstop nylon (I buy mine at JoAnns off the bolt)
Velcro strips
thread
A few notes before we begin. PUL (or shower curtain liner) is not food safe. Ripstop nylon, generally speaking, is food safe, but to be extra careful, you can flip the nylon to the shiny side facing your fabric, so it's not facing your food.
My cardboard templates measure as follows:
Snack bags: 5 inches tall by 7 inches long
Sandwich bags: 7.25 inches tall by 8 inches long
My finished bags measure as follows:
Snack bags: 4.25 inches tall by 6 inches long
Sandwich bags: 6.5 inches tall by 6.5 inches long
(Obviously, these measurements can be adjusted for your personal use. These sizes happen to work well for our family's needs.)
First, cut your fabric and waterproof lining double the length of the template . . .

This is so you don't have to sew any more than necessary . . .

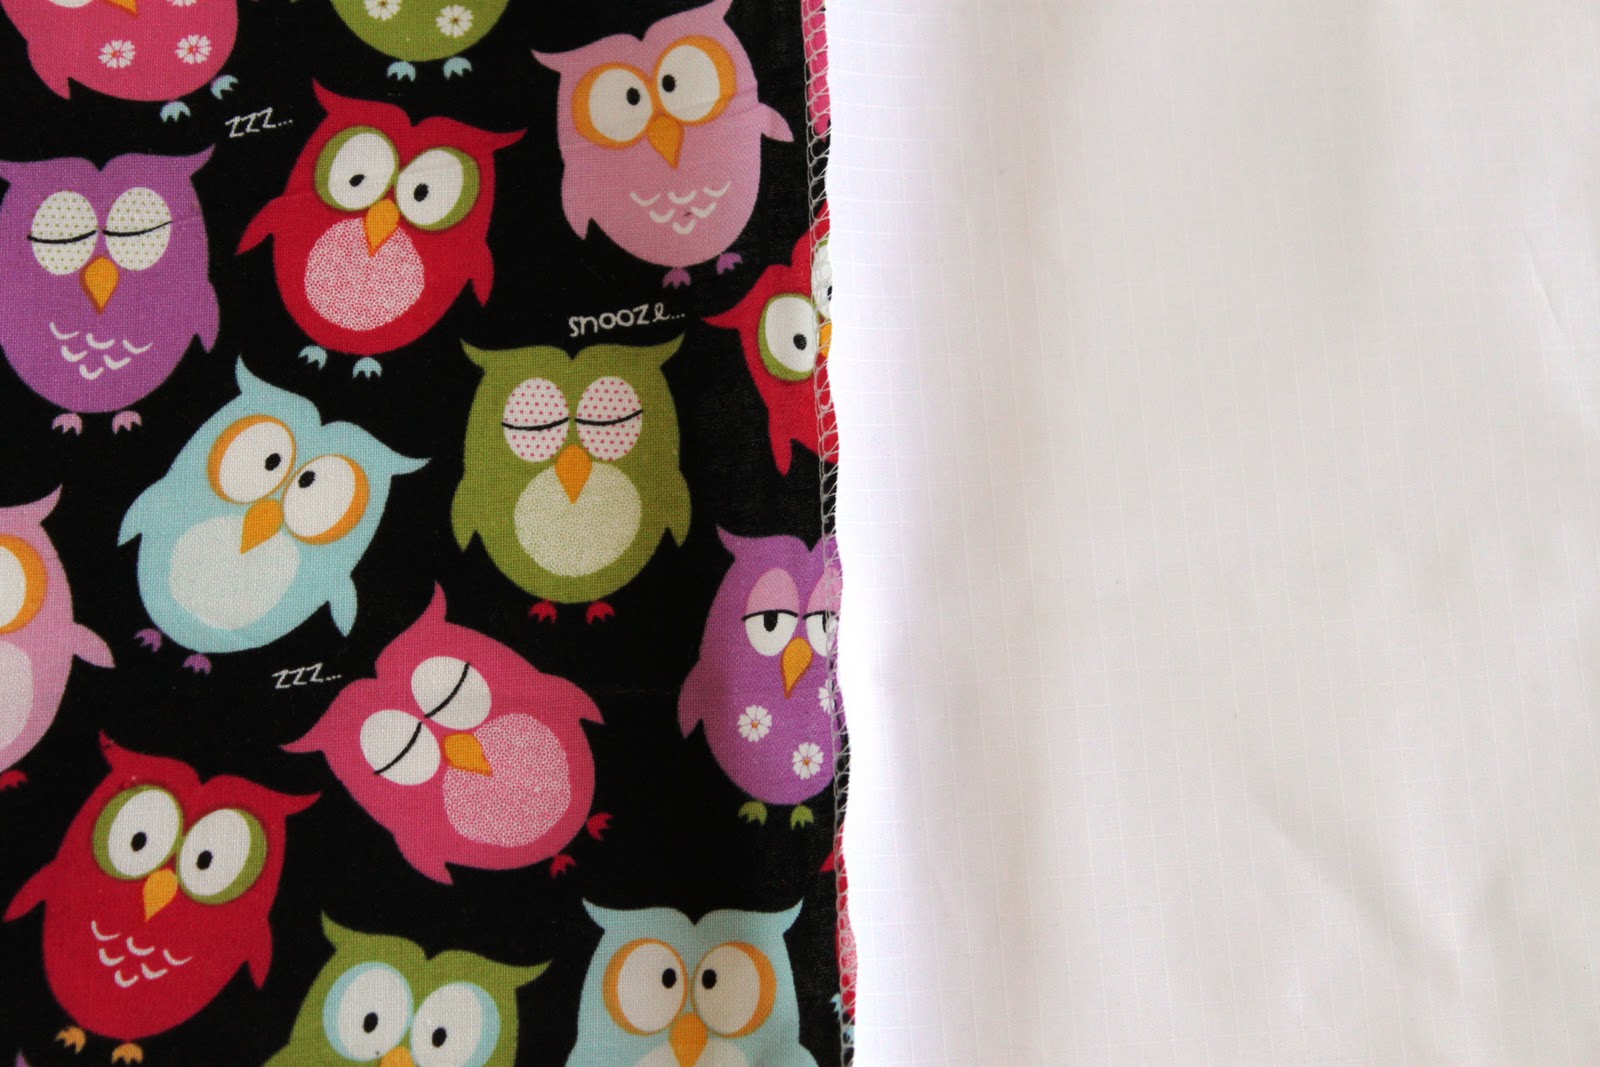
Once you've cut out the materials, serge (or sew with a regular or zig zag stitch) the fabric and the nylon together on all 4 edges . . .
These are serged together, but again, a regular stitch would work fine . . .

Then, press 1/4 inch of the two edges with an iron . . .

Then hem . . .

Measure out and cut two lengths of the Velcro, and place one side along the edge of your fabric . . .

Before sewing, make sure each side of the Velcro matches up perfectly . . .

Then sew around the edges of each strip of Velcro . . .

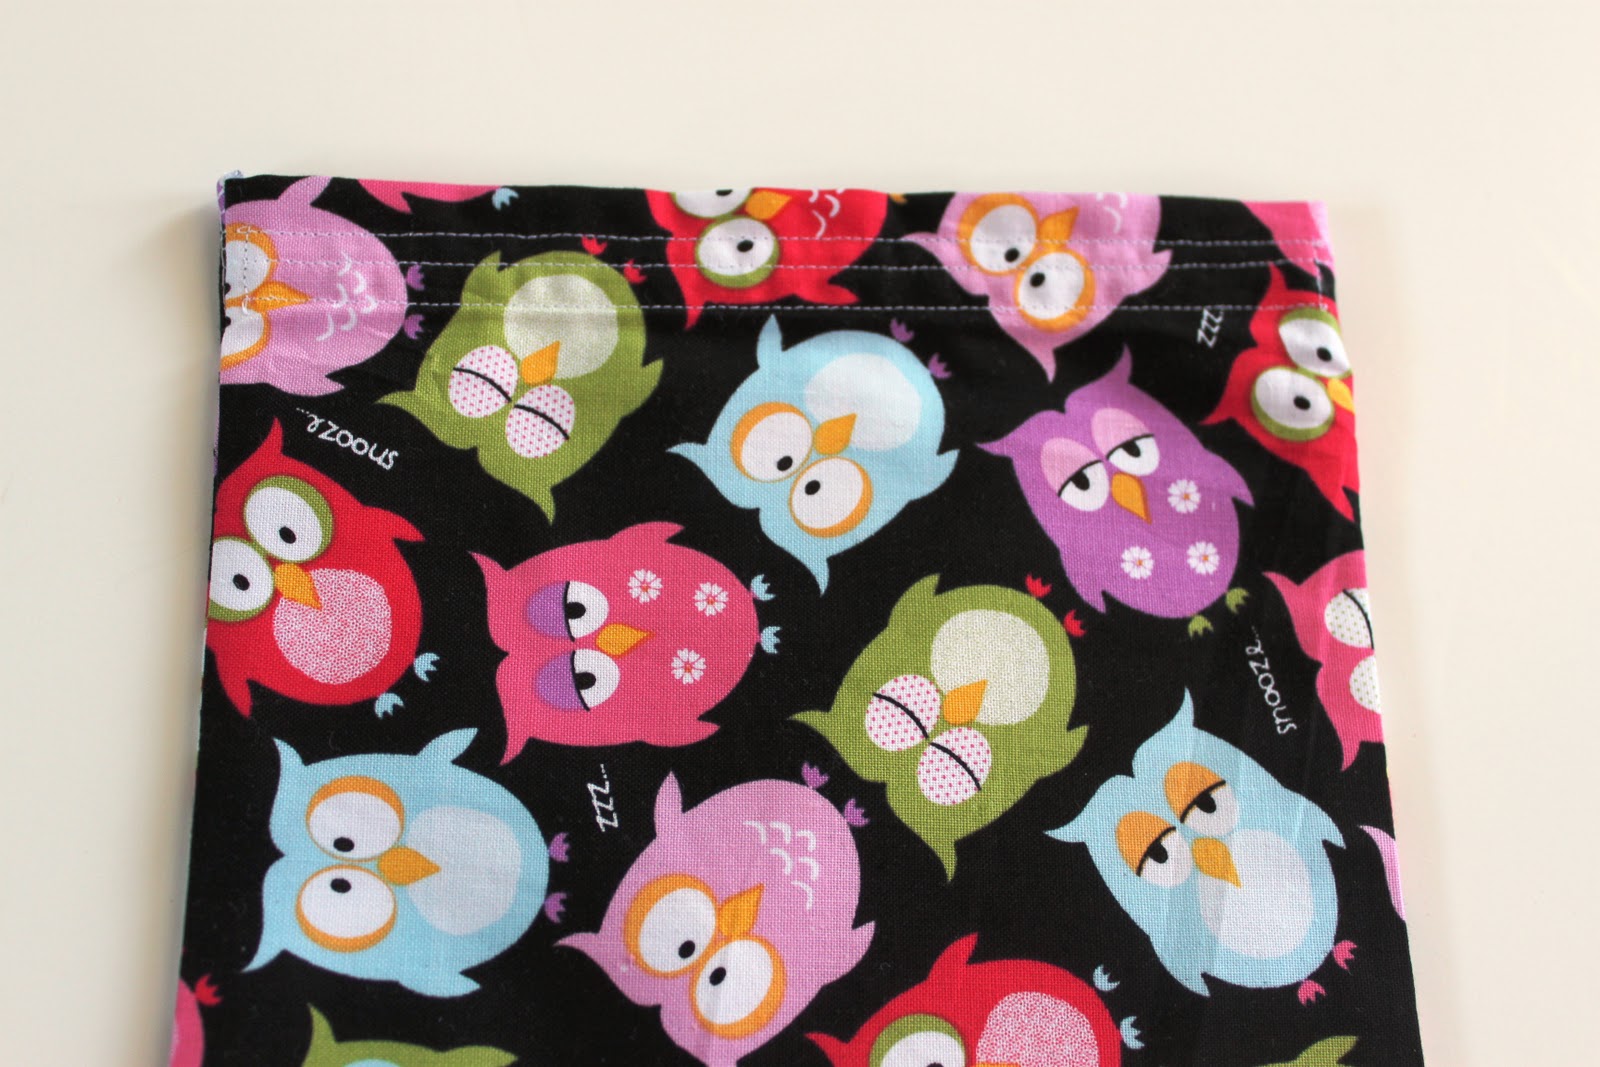
Then, once the Velcro has been attached to each side, bring the rectangle of fabric together, right sides together, and sew along each edge, with a 1/4 inch seam . . .

Then, turn right side out, and press with an iron . . .


You're done! These are very quick (mine took about 30 minutes for 3, start to finish), and they are super-sturdy. Plus, the possibilities are endless with all of the adorable fabrics out there. Enjoy!
Lora- Butternut Boutique
This is fantastic!! Thanks for sharing!!
ReplyDeleteI was looking forward to this tutorial! Nice job Lora. Now, do you sell these b/c I don't sew :)
ReplyDelete-Rebecca
Olive Smiles
A Mother's Art
These are great! What a great tutorial!!
ReplyDeleteThanks for picking my tutorial!
ReplyDeleteJust a reminder that rip stop nylon is water-resistant, but NOT water-proof. We use ours with fruit, etc with no problems.
LOVE it! What a great idea, and who doesn't need extra little baggies in your purse? I do!
ReplyDelete<3 Rachael
Little Birdie Baby Shop
I do not sell them, R. But I'd be happy to make some for you as gifts . . . just let me know how many.
ReplyDeleteOK, gotta ask. In one pic you iron the edges 1/4, then hem. But in the pics where you put in the velcro, it doesn't look like you've hemmed the edges over. So I'm a little confused. Do you place the velcro then hem edges over it, or hem 2 sides, place velcro and sew? Does that make sense the way I wrote it?
ReplyDeleteI'm sorry for the confusion!! I took that photo before sewing, but I did actually hem down the top edges BEFORE sewing on the Velcro. I find this stitching looks nicer on the outside.
ReplyDeleteLora
So, I have a question... Which side of the ripstop nylon should be on the food side (or touching the food). Thanks! Great tutorial
ReplyDelete