

FLOWER PEN
This is a flower pen. It makes a perfect present for Teacher Appreciation Day and Mother Day and I am going to show you how to make one today!! This a very inexpensive present to make, and you can make several to give out. This is my first tutorial ever, so please bear with me as writing is not my best. If there is something you are not cleared, feel free to leave me a comment.

THINGS YOU WILL NEED:
Roll of green floral tape
Wire cutter
Silk flower (3"diameter in width) pulled off its stem
Silk leaf
BIC pen in any color
Hot glue gun

STEP ONE
Use the wire cutter to grab and pull out the plastic cap that covers the top of the pen. If the ink tube comes out with it, just push the ink tube back down (make sure it goes down all the way), then apply some hot glue at the top of the tube to make sure that it will stay down securely.


STEP TWO and THREE
Apply hot glue to the bottom center of the silk flower (top picture). Make sure that you apply enough glue so that the glue will cover the top of the pen like the cap does. Quickly apply the flower over the open hole on top of the pen. Press firmly and hold for 30 seconds or until the glue are harden and the flower is securely glued to the pen.


STEP FOUR
Apply glue to the silk leaf and quickly glue it to the pen about 1.5" below the flower. Hold the leaf in place for 10 seconds to make sure that it stays.
STEP FIVE
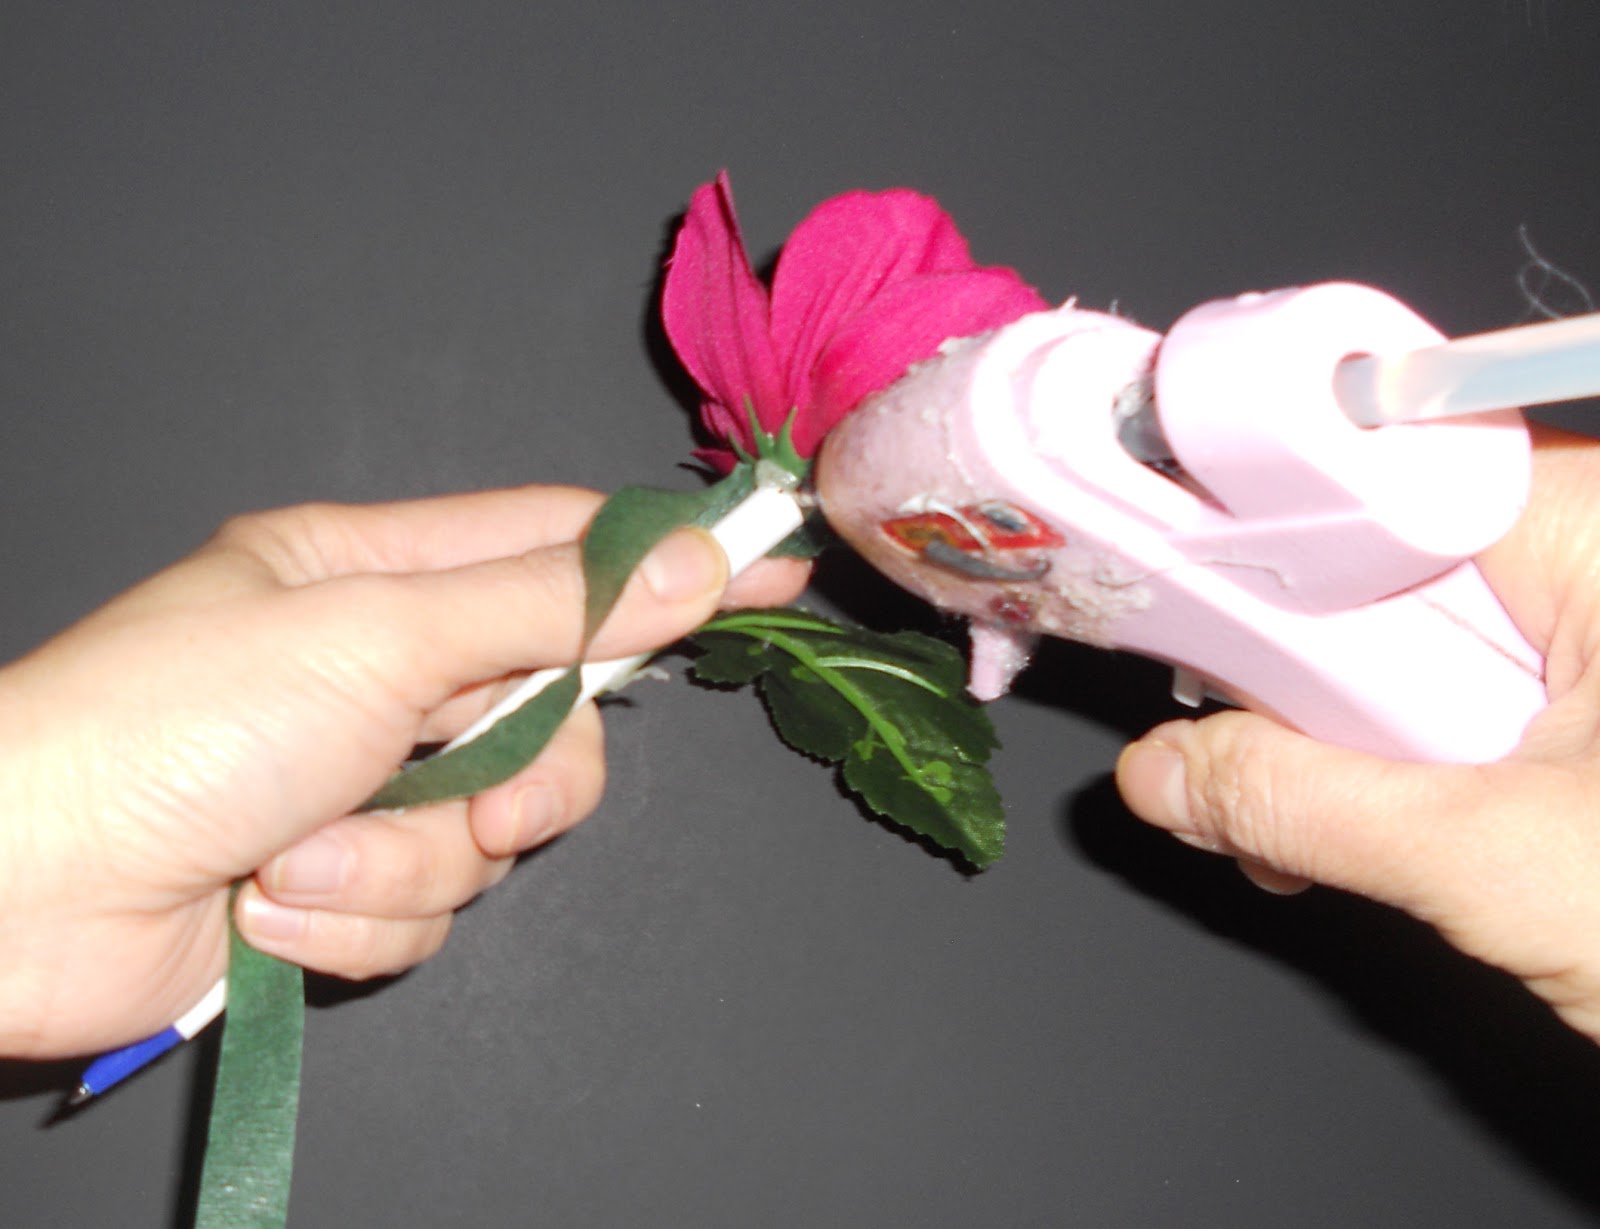
Unroll about 12" of the green floral tape but don't tear it off. Apply a little bit of hot glue at the beginning of the tape and glue it to the bottom of the flower where it meets the pen. This is to keep the tape from unrolling off the pen accidentally later.

STEP SIX
Start wrapping the tape around the pen to turn it into a "stem". Turn the tape in a clockwise motion while your left hand help turning the pen in the opposite direction. Make sure that you hold the tape tight enough so that it still can slide smoothly under your thumb and point finger in a clockwise motion. Note that the tape needs to be overlapping a little to cover the pen completely with no plastic part showing. Keep on with the wrapping until you reach the bottom of the pen about 3/4" from the tip. Tear the tape of its roll and press the end down on the pen to "seal" it.

YOU'VE MADE A FLOWER PEN!!
Thank you so much for stopping by today for the flower pens tutorial. We hope to see you next week!
Monika, My Lovebug Baby
No comments:
Post a Comment